Brother sewing machines, documented since 1985 with manuals like the VX641, offer accessible tutorials and resources, including online communities for users.
Modern guides, such as those for the XL 5500, aim to simplify operation and provide comprehensive support for beginners and experienced sewers alike.
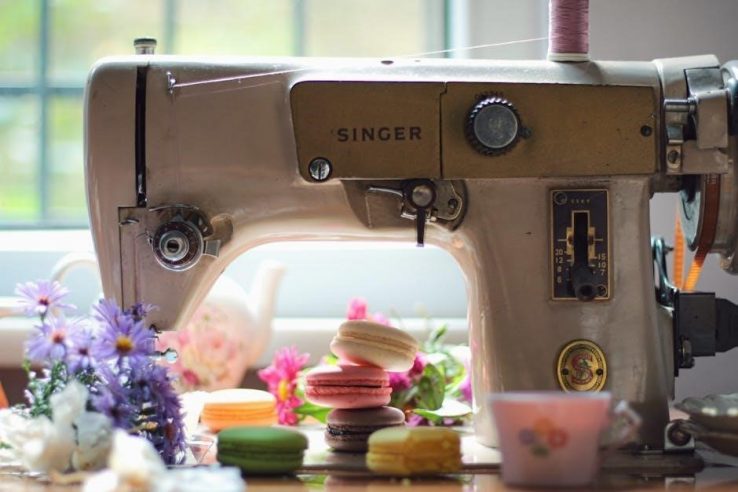
Brief History of Brother Sewing Machines
Brother Industries began as a sewing machine repair shop in 1908 in Nagoya, Japan, initially focusing on mending and servicing sewing machines. This early experience provided a deep understanding of the mechanics and user needs, laying the foundation for their own manufacturing.
By 1934, Brother had transitioned to producing home sewing machines, quickly gaining a reputation for quality and innovation. The VX641 manual from 1985 represents a milestone in their long history of providing detailed user guidance.
Throughout the latter half of the 20th century, Brother expanded its product line and global reach, becoming a leading manufacturer of sewing machines for both home and industrial use. Today, resources like downloadable manuals (XL 5500) and online support demonstrate their continued commitment to customer success.
Popular Brother Sewing Machine Models
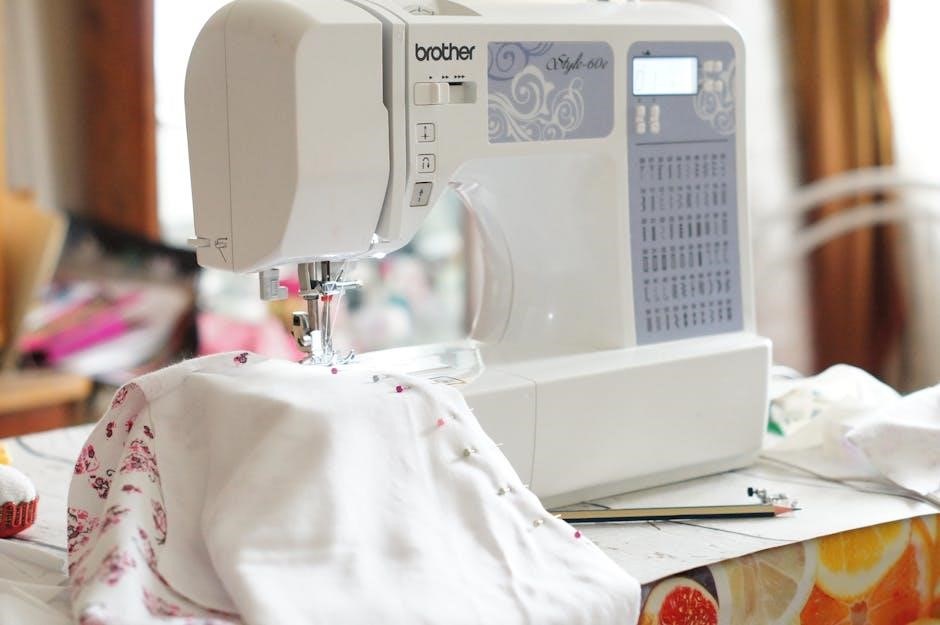
Brother offers a diverse range of sewing machines catering to various skill levels and needs. The XL 5500, frequently documented with readily available manuals, is a popular choice for beginners due to its 42 built-in stitches and user-friendly design.
More advanced models, like those represented by the older VX641 (with its 1985 manual), catered to experienced sewers with a wider array of features. Contemporary machines continue this trend, offering computerized options with extensive stitch libraries and automated functions.
Access to online tutorials and manuals, as evidenced by resources like manualzz, ensures users can maximize their machine’s potential. Brother’s commitment to providing comprehensive support contributes to the enduring popularity of its models.
Getting Started: Setting Up Your Brother Sewing Machine
Successfully operating your Brother machine begins with careful unboxing and referencing the user manual, ensuring proper setup and understanding of its features.
Unboxing and Initial Inspection
Carefully remove your new Brother sewing machine from its packaging, retaining the box and packing materials for potential future transport or storage. A thorough initial inspection is crucial. Verify that all included accessories are present, referencing the manual’s parts list – this typically includes presser feet, bobbins, needles, a screwdriver, and a seam ripper.
Inspect the machine for any visible damage incurred during shipping. Check for dents, scratches, or loose parts. Ensure the power cord is intact and undamaged. Gently test the handwheel to confirm smooth rotation. Confirm the bobbin case is correctly installed, but do not attempt to thread it yet.
Familiarize yourself with the machine’s basic layout before powering it on. Documentation, like the VX641 manual, emphasizes careful handling from the start. A well-documented unboxing process sets the stage for successful sewing.
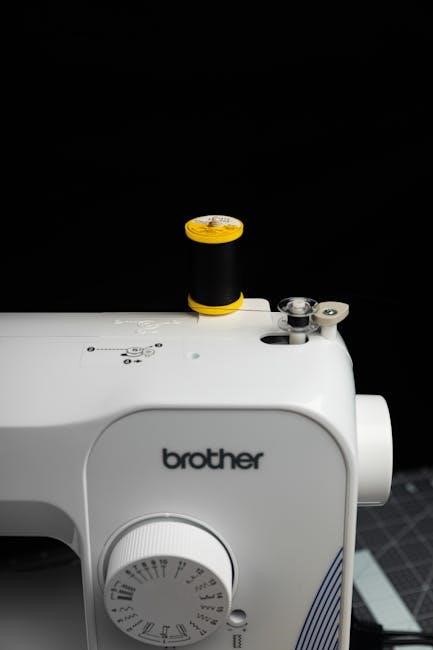
Threading the Machine: A Step-by-Step Guide
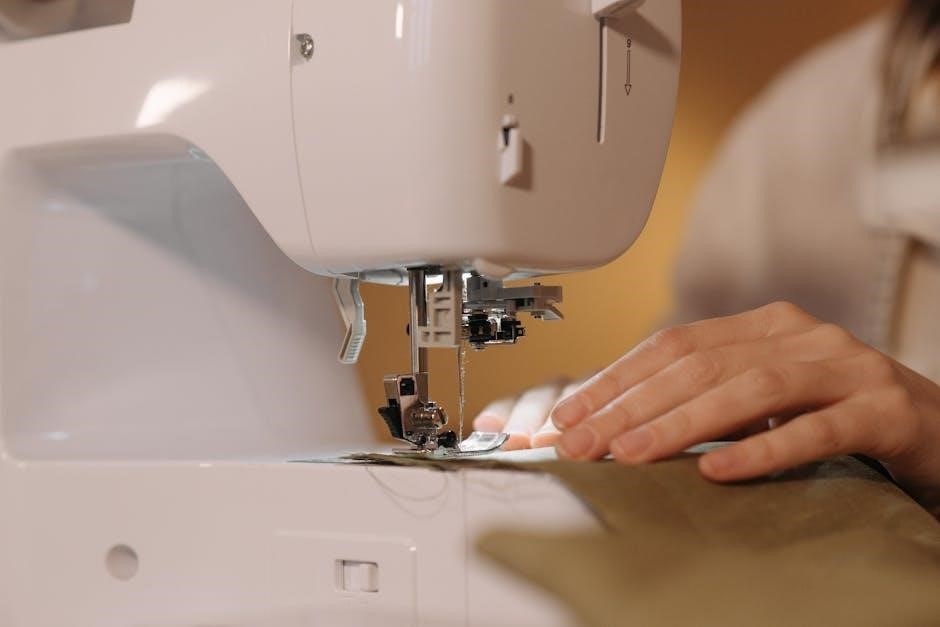
Refer to your Brother sewing machine’s manual – resources like those for the XL 5500 provide detailed diagrams. Begin by raising the presser foot; this opens the tension discs. Guide the thread from the spool pin, through the first thread guide, and then down to the tension discs. Ensure the thread is securely seated between the discs.
Continue threading through the take-up lever, following the numbered guides indicated in your manual. Next, thread the needle from front to back (typically). A needle threader can be incredibly helpful. Finally, draw a length of thread through the needle eye, about 3-4 inches.

Proper threading, as highlighted in older manuals like the VX641’s, is fundamental for consistent stitch quality and preventing issues. Double-check each step!
Winding the Bobbin
Bobbin winding is crucial for smooth sewing. Place the spool of thread on the spool pin. Guide the thread through the designated thread guide for bobbin winding, often marked differently from the regular threading path. Wrap the thread several times around the bobbin, ensuring a secure start.
Engage the bobbin winding mechanism – typically by pushing the bobbin spindle to the right. Hold the thread tail as you begin winding to prevent slippage. Press the foot pedal gently to start the winding process.
Most Brother machines, including those covered in manuals like the VX641, will automatically stop when the bobbin is full. Disengage the winding mechanism and remove the full bobbin. Proper winding, as detailed in resources for models like the XL 5500, ensures even thread distribution.
Understanding the Basic Parts
Brother sewing machines, detailed in manuals from 1985 onwards, feature key components like needles, presser feet, stitch dials, and tension controls for optimal function.
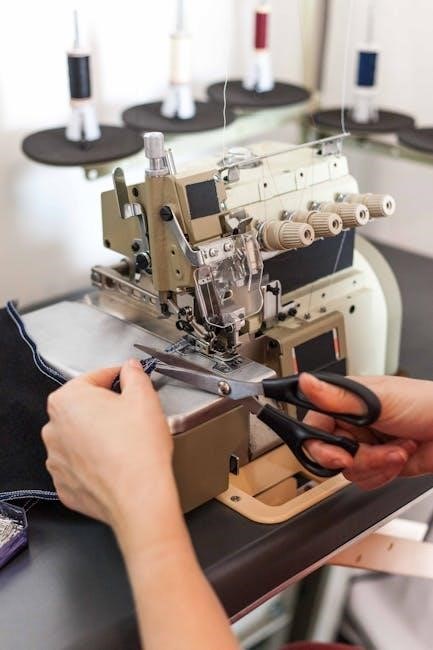
Needle and Presser Foot Mechanisms
The needle, a crucial component in any Brother sewing machine, works in harmony with the presser foot to precisely feed fabric through the machine. Different needle types cater to various fabrics – universal, ballpoint, and denim needles are common examples.
Presser feet apply downward pressure, ensuring consistent fabric movement. Brother machines often include interchangeable feet for specialized tasks like zipper insertion, buttonholes, or quilting. Understanding how to adjust presser foot pressure is vital for achieving even stitches, especially on delicate materials.
Manuals, like those for the VX641 and XL 5500, illustrate these mechanisms, emphasizing proper needle insertion and foot attachment. Correct alignment and functionality are essential for preventing skipped stitches and ensuring smooth operation. Regular cleaning and maintenance of these parts are also recommended.
Stitch Selection Dial and Controls
Brother sewing machines feature a stitch selection dial, allowing users to choose from a variety of stitch patterns. Models like the XL 5500 boast up to 42 stitches, including straight, zigzag, and decorative options. Understanding the dial’s markings and corresponding stitch functions is key to successful sewing.
Beyond the dial, controls for stitch length and width provide further customization. Adjusting these settings impacts the appearance and strength of the stitch. Manuals, including the VX641 documentation, detail how to manipulate these controls for optimal results.
Online tutorials and resources often demonstrate stitch selection for specific projects. Mastering these controls unlocks creative possibilities and ensures the machine meets diverse sewing needs. Proper stitch selection is fundamental to achieving professional-looking results.
Tension Control Explained
Brother sewing machine tension controls are crucial for balanced stitch formation. Incorrect tension leads to looping, puckering, or broken threads. The upper tension dial regulates thread tightness from the spool, while the bobbin tension, often pre-set, affects the underside of the fabric.
Manuals, like those for the VX641 and XL 5500, illustrate how to adjust the upper tension. A general rule is to increase tension for looping on the underside and decrease it for looping on the top. Test stitches on scrap fabric are essential for fine-tuning.
Online resources and tutorials provide visual guides to tension adjustment. Understanding fabric weight and thread type impacts optimal tension settings. Achieving balanced tension ensures durable and aesthetically pleasing seams.
Essential Sewing Techniques
Brother machines facilitate core skills like straight and zigzag stitching, alongside automated buttonholes, as detailed in available manuals and online tutorials.
Straight Stitching: Mastering the Basics
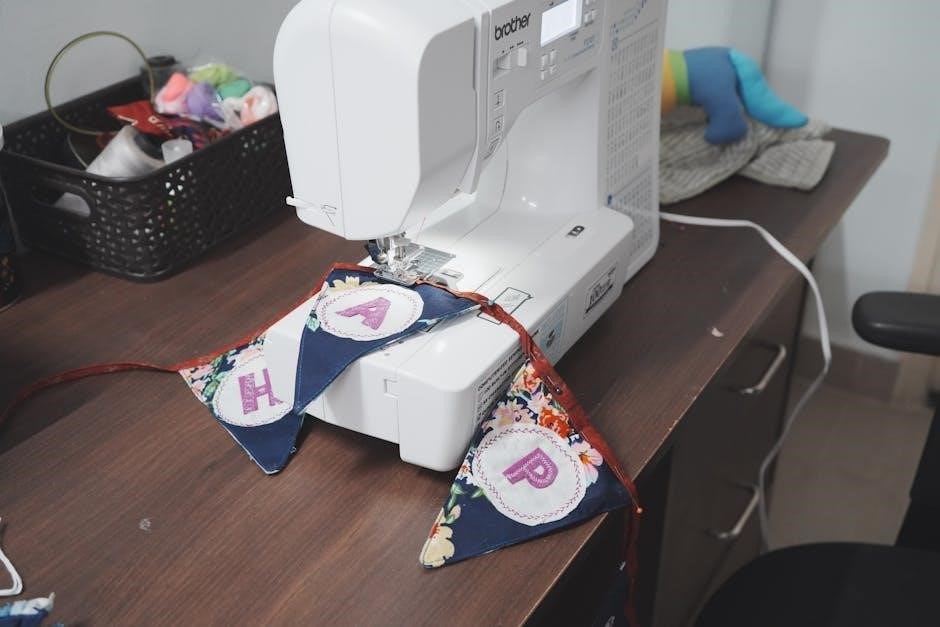
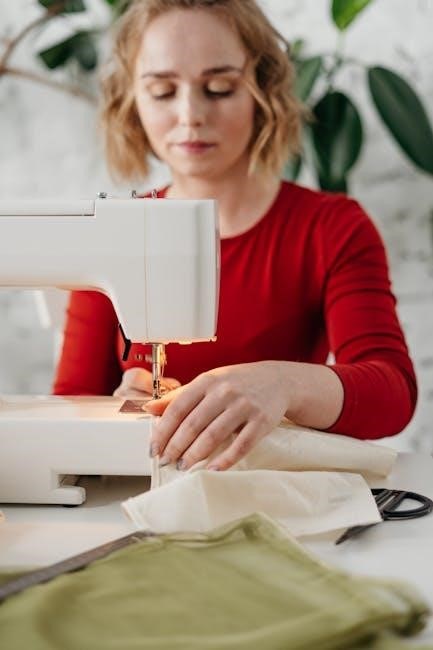
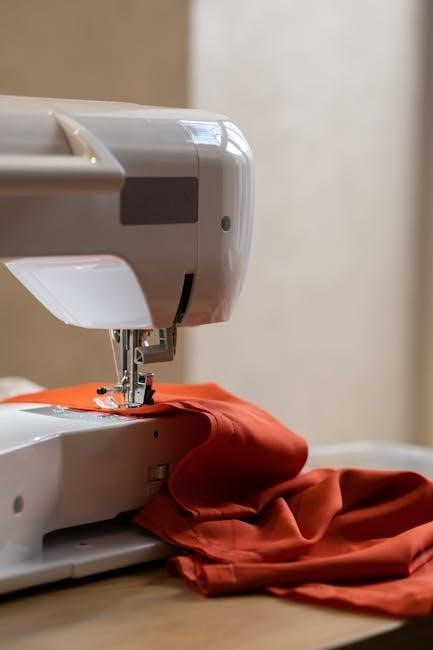
Straight stitching is the foundation of most sewing projects, and Brother machines excel at providing consistent, reliable results. Begin by selecting the straight stitch option on your machine’s stitch selection dial.
Ensure the fabric is properly aligned under the presser foot, guiding it gently as you begin to sew. Maintain a consistent speed, allowing the machine to feed the fabric evenly.
Practice maintaining a seam allowance – the distance between the stitch line and the fabric edge – using the markings on your machine’s needle plate as a guide.
Refer to your Brother manual for specific guidance on adjusting stitch length for different fabric types and project requirements. Shorter stitches are ideal for delicate fabrics, while longer stitches are suitable for heavier materials. Consistent practice will quickly build your confidence and precision with this essential technique.
Zigzag Stitching: Applications and Techniques
Zigzag stitching on a Brother sewing machine offers versatility beyond simple seams. Select the zigzag stitch on the stitch selection dial, then adjust the stitch width and length using the corresponding controls.
A narrow zigzag is perfect for finishing raw edges, preventing fabric fraying, while a wider zigzag creates decorative effects or stretches seams in knit fabrics.
Practice sewing along a line, maintaining a consistent distance from the edge. Utilize the stitch width to control how much the needle moves side-to-side.
Explore applications like appliqué, where zigzag stitches secure fabric pieces onto a base, or creating elastic casings. Your Brother manual provides detailed guidance on optimal settings for various fabrics and techniques. Mastering zigzag stitching expands your creative possibilities significantly.
Buttonhole Stitching: A Detailed Walkthrough
Buttonhole stitching on your Brother machine requires a buttonhole foot – attach it before starting. Select the buttonhole stitch setting on the stitch dial; many Brother models offer one-step buttonhole creation.
Place your button near the designated buttonhole marking on the presser foot. Lower the presser foot and begin sewing; the machine automatically stitches the buttonhole outline.
Typically, you’ll sew the first side, then pivot, sew the second side, and finally, reinforce the opening. Refer to your machine’s manual for specific instructions, as procedures vary by model.
Practice on scrap fabric to perfect your technique. Ensure consistent button placement for uniform results. A well-executed buttonhole adds a professional finish to your projects, showcasing your sewing skills.
Troubleshooting Common Issues
Brother sewing machine manuals and online resources offer solutions for thread breakage, skipped stitches, and jamming, ensuring smooth operation and project success.
Thread Breakage: Causes and Solutions
Thread breakage is a frequent issue, often stemming from improper threading, as detailed in Brother manuals like the VX641. Ensure the thread path is clear and correctly guided through all components.
Incorrect needle size for the fabric weight is another common culprit; consult your machine’s guide for appropriate needle selection. Old or low-quality thread can also snap easily, so using a reputable brand is crucial.
Tension imbalances frequently cause breaks – adjust the tension dial according to the fabric type. Finally, a dull or damaged needle increases friction, leading to breakage. Regularly inspect and replace your needle for optimal performance, referencing online tutorials for guidance.
Skipped Stitches: Diagnosis and Repair
Skipped stitches can be frustrating, but often have simple solutions; First, verify the needle is correctly inserted – it must be fully pushed up into the needle clamp. Using the wrong needle type for your fabric is a common cause; Brother manuals detail appropriate needle choices.
Ensure the needle isn’t bent or damaged, as this disrupts the loop formation. Incorrect threading, similar to thread breakage issues, can also lead to skipped stitches. Double-check the thread path.
Finally, improper tension settings can cause problems. Adjust the tension dial incrementally and test. Online resources and Brother support offer detailed troubleshooting steps for various models.
Machine Jamming: Prevention and Resolution
Machine jamming typically occurs when fabric or thread gets tangled within the bobbin area or around the needle. Prevention starts with regular cleaning, removing lint and debris as outlined in your Brother sewing machine manual.
Always use quality thread and ensure proper lubrication, following the manufacturer’s recommendations. Avoid pulling or forcing fabric while sewing; let the machine feed it naturally. If jamming occurs, immediately stop and lift the presser foot.
Carefully remove the jammed fabric or thread, consulting online tutorials if needed. Never use sharp objects that could damage internal components. Consistent maintenance and careful operation are key to avoiding this issue.
Advanced Features & Techniques (Model Dependent)
Brother machines offer diverse features like decorative stitches and free-motion quilting, explored through online resources and model-specific tutorials for enhanced creativity.
Using Decorative Stitches
Brother sewing machines frequently boast a wide array of decorative stitches, extending beyond basic functionality to enable creative embellishments. These stitches, often accessed via a stitch selection dial, can dramatically enhance projects.
Experimentation is key! Begin by testing stitch patterns on scrap fabric, adjusting stitch length and width to achieve desired effects. Consider the fabric weight; lighter fabrics suit delicate patterns, while heavier materials can handle bolder designs.
Decorative stitches aren’t limited to simple ornamentation. They can create textured backgrounds, mimic quilting, or even construct entire garments. Online tutorials and Brother’s support resources demonstrate techniques like using decorative stitches for monograms, edging, and appliqué. Remember to consult your machine’s manual for specific stitch details and recommended settings.
Free Motion Quilting with a Brother Machine
Brother sewing machines, with their adaptable features, are excellent for free motion quilting (FMQ). This technique involves dropping the feed dogs, allowing you to move the fabric freely under the needle, creating custom quilting designs.
Begin by attaching a darning foot – essential for unobstructed fabric movement. Lower the presser foot and gently guide the fabric, using both hands to control the stitch direction and density. Practice on a quilt sandwich (top, batting, backing) to get a feel for the process.
Online tutorials showcase various FMQ patterns, from simple meandering to intricate designs. Adjust stitch length and speed to suit your comfort level. Brother’s resources often highlight specific machine settings for optimal FMQ performance. Consistent practice is crucial for developing smooth, even stitches.
Resources and Further Learning
Brother’s official support website and platforms like Manualzz provide extensive manuals (VX641, XL 5500) and online tutorials for enhanced learning.
Explore communities and GitHub repositories (mlouielu) for shared knowledge and downloadable resources related to Brother sewing machines.
Official Brother Support Website
Brother’s official support website stands as the primary hub for all your sewing machine needs, offering a wealth of resources directly from the manufacturer. Here, you’ll discover downloadable manuals for a vast range of models, including vintage options like the VX641 from 1985, and contemporary machines such as the XL 5500.
The website provides troubleshooting guides, frequently asked questions (FAQs), and detailed explanations of machine features. You can access instructional videos demonstrating essential techniques, from basic threading procedures to more advanced operations like buttonhole stitching.
Furthermore, Brother offers a dedicated support team reachable through online chat or phone, ready to assist with specific issues or provide personalized guidance. Regularly updated with new content, the official website ensures you have access to the latest information and support for your Brother sewing machine, fostering a seamless and enjoyable sewing experience.
Online Tutorials and Communities
Beyond the official Brother support, a vibrant ecosystem of online tutorials and sewing communities thrives, offering supplementary learning resources. Platforms like YouTube host countless videos demonstrating Brother machine techniques, catering to all skill levels – from beginner threading guides to advanced quilting methods.
Websites dedicated to sewing often feature detailed articles and step-by-step instructions, complementing the official manuals (like those for the VX641 or XL 5500). Online forums and social media groups provide spaces to connect with fellow Brother machine users, share tips, ask questions, and receive peer support.
Resources like mlouielu’s GitHub project, compiling Brother manuals, showcase community-driven efforts. These collaborative platforms empower sewers to expand their knowledge and troubleshoot issues collectively, enhancing their overall sewing journey.